Students

Chicago Metro History Day

How to Participate

History Day students typically participate through their schools. Ask your teacher if your school offers History Day. Schools may decide which classes, teachers, and grade levels are involved. Each participating school is allowed to send a limited number of projects in each category to compete at the CMHD Regional Contests in the spring. Your teacher is the final authority at your school in determining all rules and requirements for your project, including due dates and limitations on topics and categories.

If you are a student attending a school that does not participate in History Day, you may submit a History Day project as an Independent Scholar. In order to participate as an Independent Scholar, submit this form.

The History Day Project

Creating a History Day project is a big task, but if you use your time constructively, stay organized, and make use of all the resources available to you, you can create an amazing and successful project!

What does a successful History Day project look like?

Project Categories

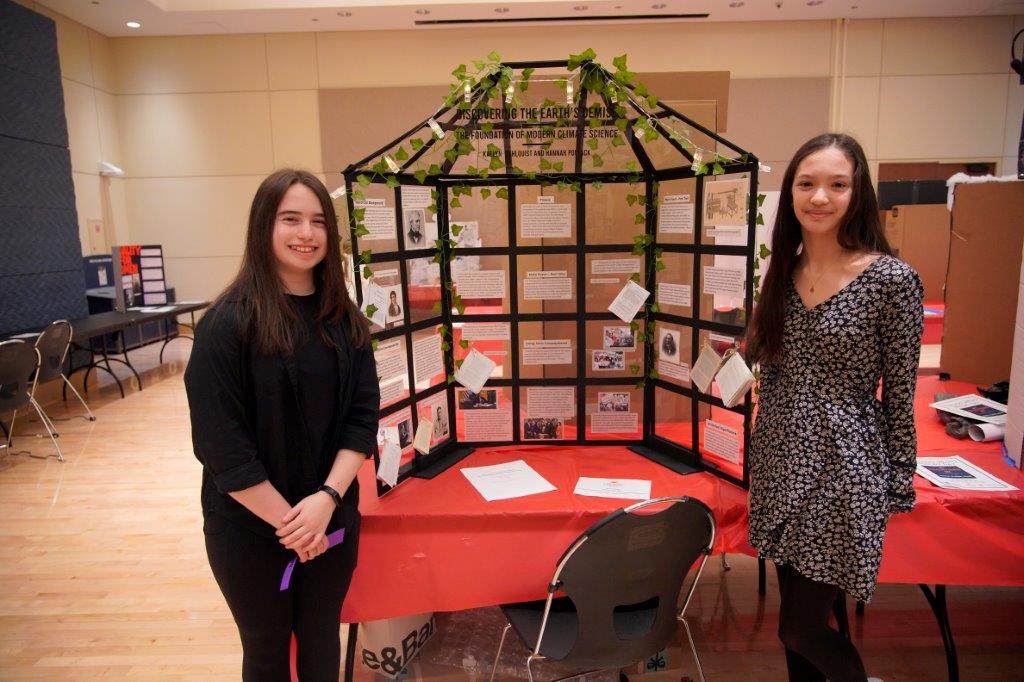
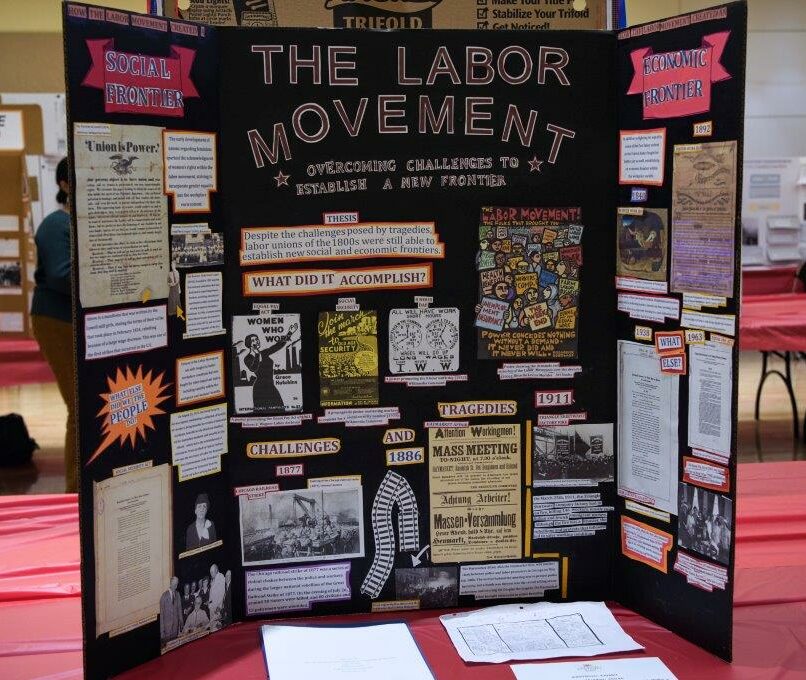
There are five types of History Day projects: Exhibit, Performance, Website, Documentary, or Paper. Students may choose to participate individually or in small groups (except in the paper category, which is individual only). The resources below provide more information on each category type and provide examples.
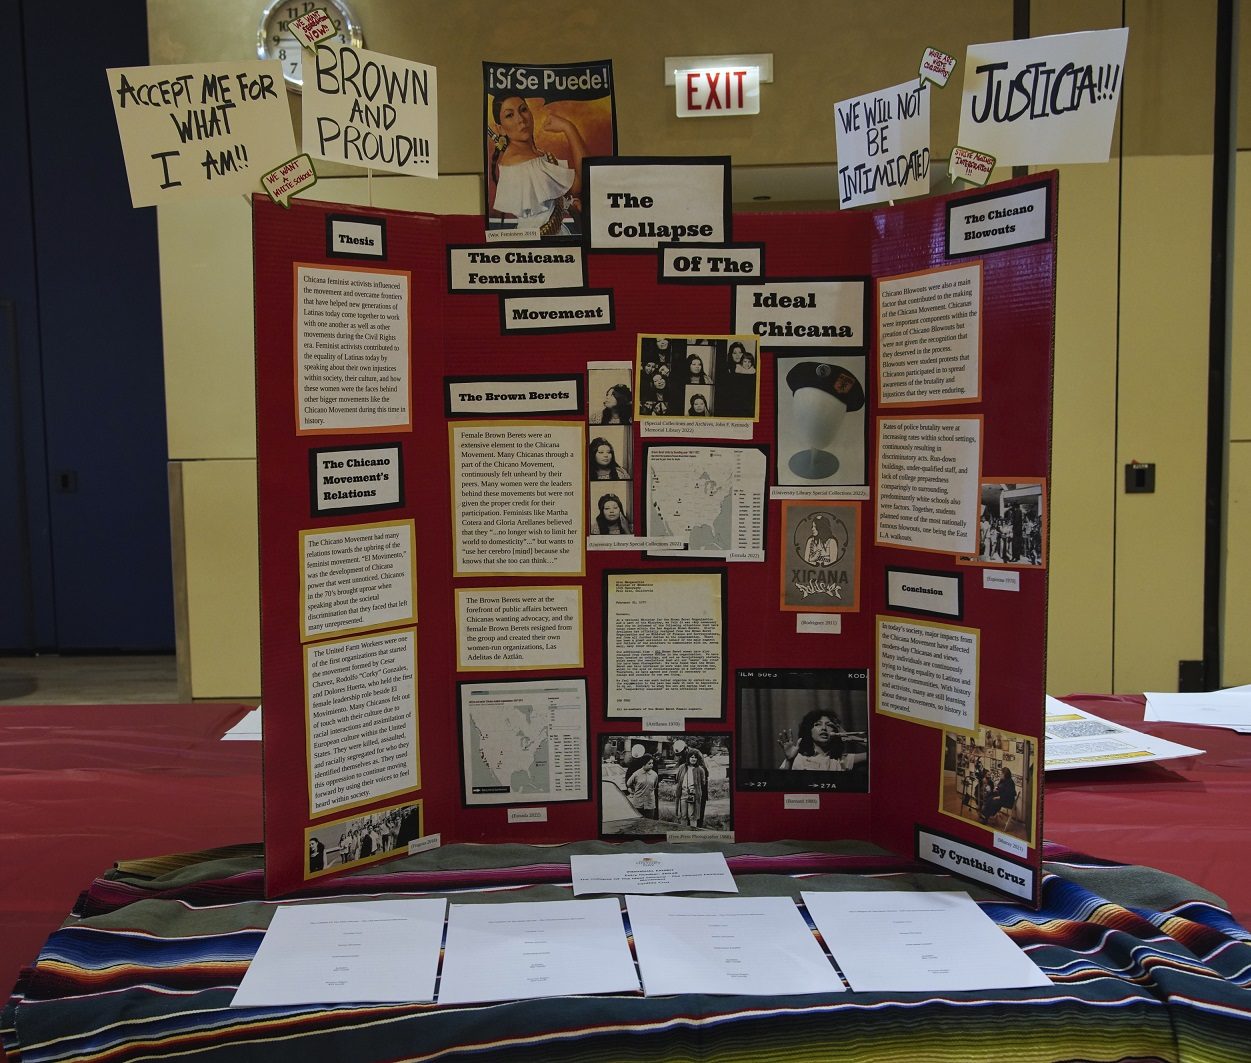
CMHD-2023-student project-chicana movement

Written Materials

Every History Day project must also include: (1) a Process Paper (PP) with title page and (2) an Annotated Bibliography (AB). The resources below provide tips and examples for each project category.
CMHD_2023_DSC6394

Five Steps for a Successful History Day Project

Step 1: Find Your Topic

Choosing a History Day topic that you are passionate about is an important foundation for a successful project. Remember, your topic should be related to this year’s annual theme: Turning Points in History.

Remember that you will be researching this subject in-depth. Some historical topics may contain sensitive or disturbing material. Be sure to check with your parent/guardian and teacher to make sure this topic will work for you.

Step 2: Ask Questions and Develop your Thesis

Asking questions is a great way to spark your research process. When first considering a topic, it is only natural to start by asking questions like what exactly happened? Who was involved? When and where did this take place? As you answer these basic questions, they will lead you to more substantial questions like why did this happen? What was the impact on the people involved? Why does this still matter today? These questions will require your interpretation, meaning that different people might come to different conclusions about them.

Your thesis shows your interpretation and is the foundation of your historical argument. Your thesis should say what happened, but should also include your interpretation of why it happened and why it matters in history. Your thesis should also demonstrate your topic’s connection to the NHD annual theme. Your thesis will usually be 2-3 sentences long.

  • How to Write a Thesis
  • Developing and Testing your Thesis
Step 3: Conduct Research and Analyze your Sources

Historical research can seem daunting, but with the right resources, careful note-taking, and persistence you will succeed in finding the information you need. In fact, good research will take you beyond just the facts, and you will begin to form your own interpretation about what happened, how and why it happened, and how it changed the world!

Finding Sources

Primary and secondary sources are the raw materials of your project. In most cases, you will start your research with more general sources like encyclopedias and other reference books. What you find there will help you refine and focus your topic, and allow you to move on to secondary sources like documentary films, authored books, museum exhibits, etc. Once you have studied these secondary sources, you will have the context you need to conduct effective research with specialized academic articles and primary sources like archival documents and objects.

  • Visit our Research page for links to high-quality primary and secondary sources and more!

Taking Notes

Every History Day project must include an annotated bibliography. Visit our Annotated Bibliography page for much more info!

Each time you find a source that helps you understand your topic, write it down! Consider a note-taking sheet like this one, or better yet, keep a running Google Doc (share it with your teammates if you’re working in a group) where you write down the vital details for each source: whether it is primary or secondary, the title, author, year it was published, URL, and a note about what you learned from the source, and how to find it again (page number or specific URL). This simple step will save you a lot of effort when you are finishing your Annotated Bibliography!

Analyzing Sources

As you find and work with sources, you will need to analyze them. Analyzing your sources simply means asking questions of your source such as:

  • Who wrote this source and why?
  • What was different about the time and place this source was created? What was the same?
  • What does this source say, and does it “agree” with other sources on the same topic?
  • What claims does the author make, and what evidence do they provide to support those claims?

As you complete this process with a variety of sources, you will begin to see multiple perspectives and voices emerge from your research. Which of those perspectives do you find most persuasive, and why? If you can answer that, you are well on your way to building your own historical argument!

Step 4: Develop Your Argument

A History Day project is more than just reporting the facts and information that you find. These facts and pieces of information are building blocks that you will use to build your Historical Argument. Your Historical Argument is your own interpretation about how and why the events of your topic happened, and why they are important. Your thesis statement is a summary of your historical argument. Using evidence from sources to demonstrate your Historical Argument is the most important part of any History Day project!

Step 5: Tell your Story!

When your research is complete and you have decided on your Historical Argument, it’s time to start building your project.

CMHD-2023-Junior Regionals

Awards

Projects competing in the Chicago Metro History Day regional contests are eligible to self-nominate for a variety of Student Special Awards. Awards are a great way to allow more people to see your project, look great on school applications, and include cash prizes for students!

See past student winners
Translate »